Mouse Testing
Jump to navigation
Jump to search
Howto
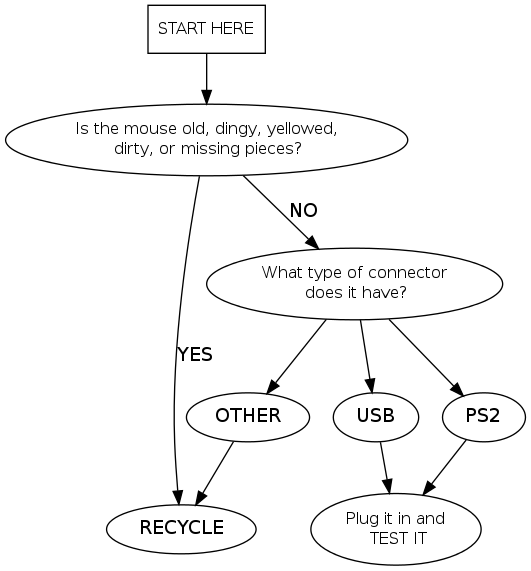
How To Test a PS2/USB Mouse
- Make sure the computer is turned on. If it is not, turn it on. If it won't turn on, make sure the power strip in on.
- Log in. Username: OEM Password: freegeek
- If it is a PS2 mouse (meaning it has a little round connector) plug in into the matching wire on the computer. It it is USB, plug it into the hub next to the computer.
- Open a web browser window. It will not connect to the internet, you are merely using this to test your controls.
- Move the mouse around. Does the pointer move? If it does not, recycle the mouse*
- Click both the right and left buttons, and the center button if a three button mouse. Does anything happen? If nothing happens, recycle the mouse*
- If the mouse has a scroll button in the middle, try scrolling down. Does it work? If not, recycle the mouse*
*To recycle a mouse, cut its cord. Place the cord in the shopping cart full of cords & place the mouse in the box labeled "Copper Bearing Materials" in the main Receiving room.
Mac Mouse Testing
- Follow same procedure as PS2/USB mouse testing.
- Click the one button. If nothing happens, recycle the mouse
- If works, place in the box labeled "mac mice".
- When box is full, take to Mac incoming.
Where the Functional Mice Go
After testing a mouse, neatly tie up the mouse's cord and put the mouse in 1 of 3 boxes:
- Pack 2 button mice into a box
- Pack 3 button mice into a box
- Pack mice with scroll button into a box
Note:
When a box is full, write the quantity and type of mice on top of the box, close it up & ask where it goes